Removing photo halters in Photoshop
Removing a “photo halter” is a lot easier than a normal halter because it is so small and Photoshop doesn’t have to work so hard to use the Content Aware feature. If the halter is too big, Photoshop will replace pixels with blurry pixels and your image will look terrible. But you can use this method for removing anything from an image.Here’s a super easy way to remove the halter in Photoshop. There are many ways to accomplish this task but this is by far the easiest I have found.
Step 1
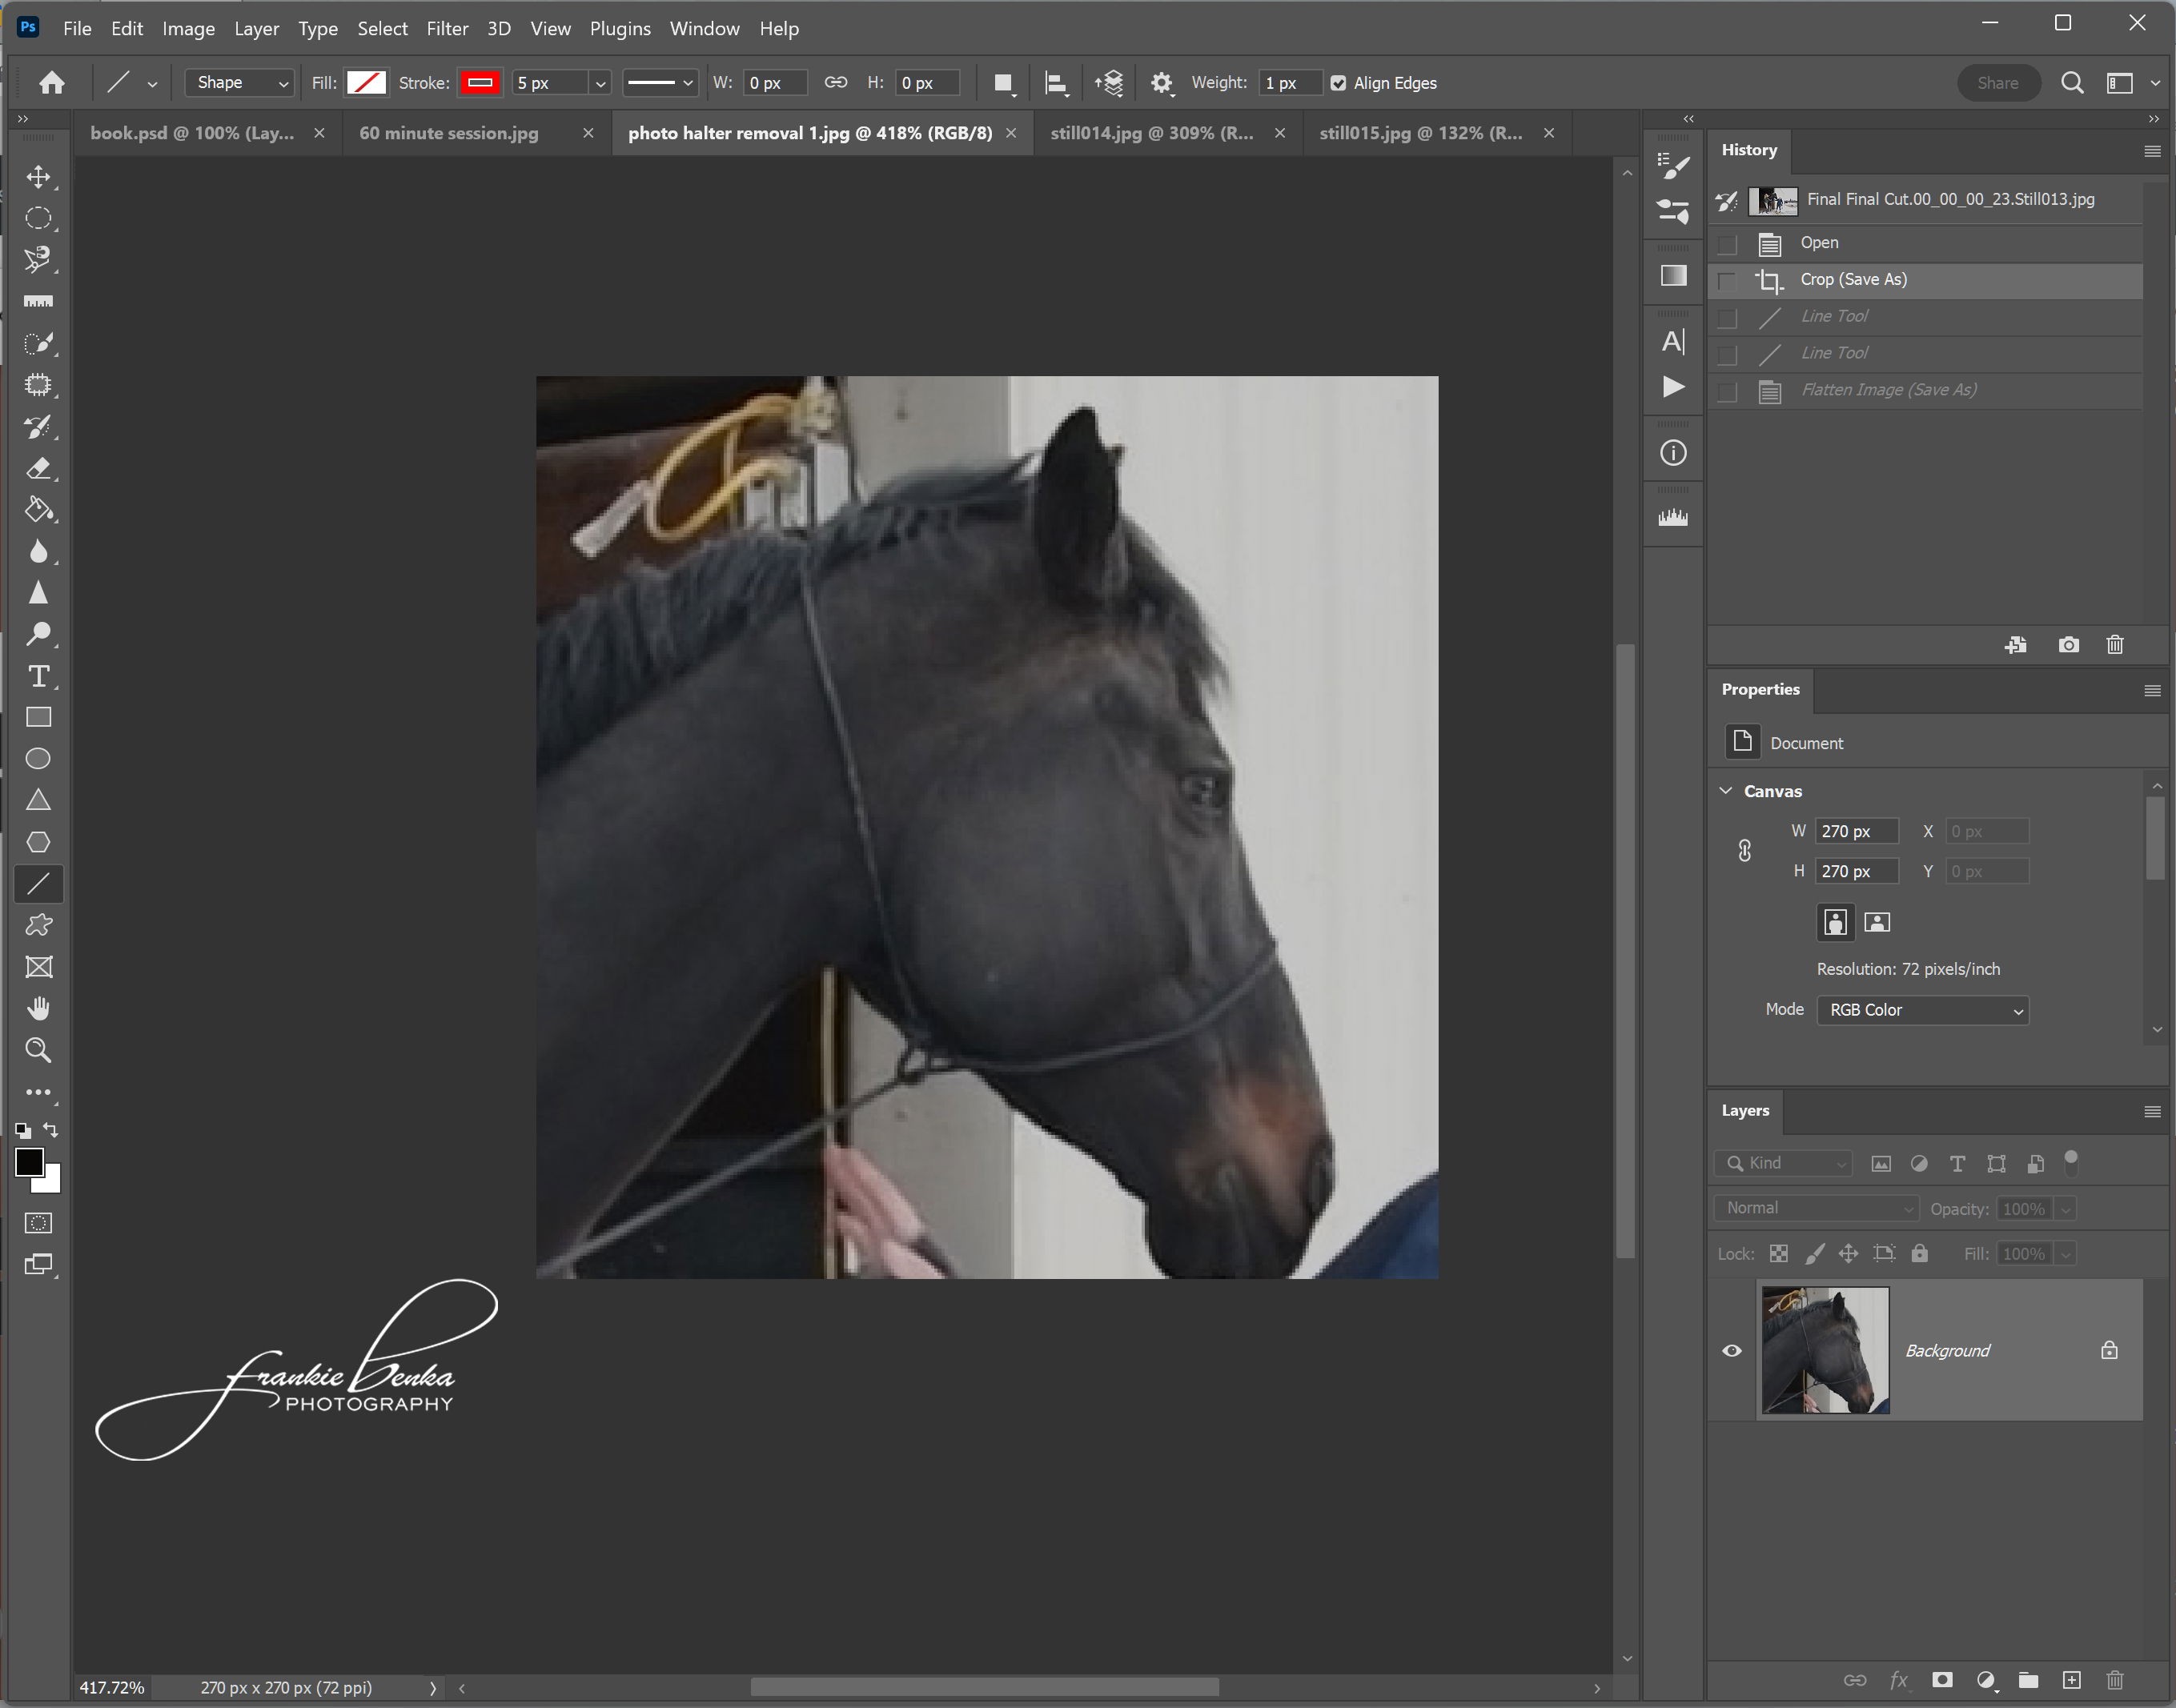
Open your image in Photoshop.
Step 2
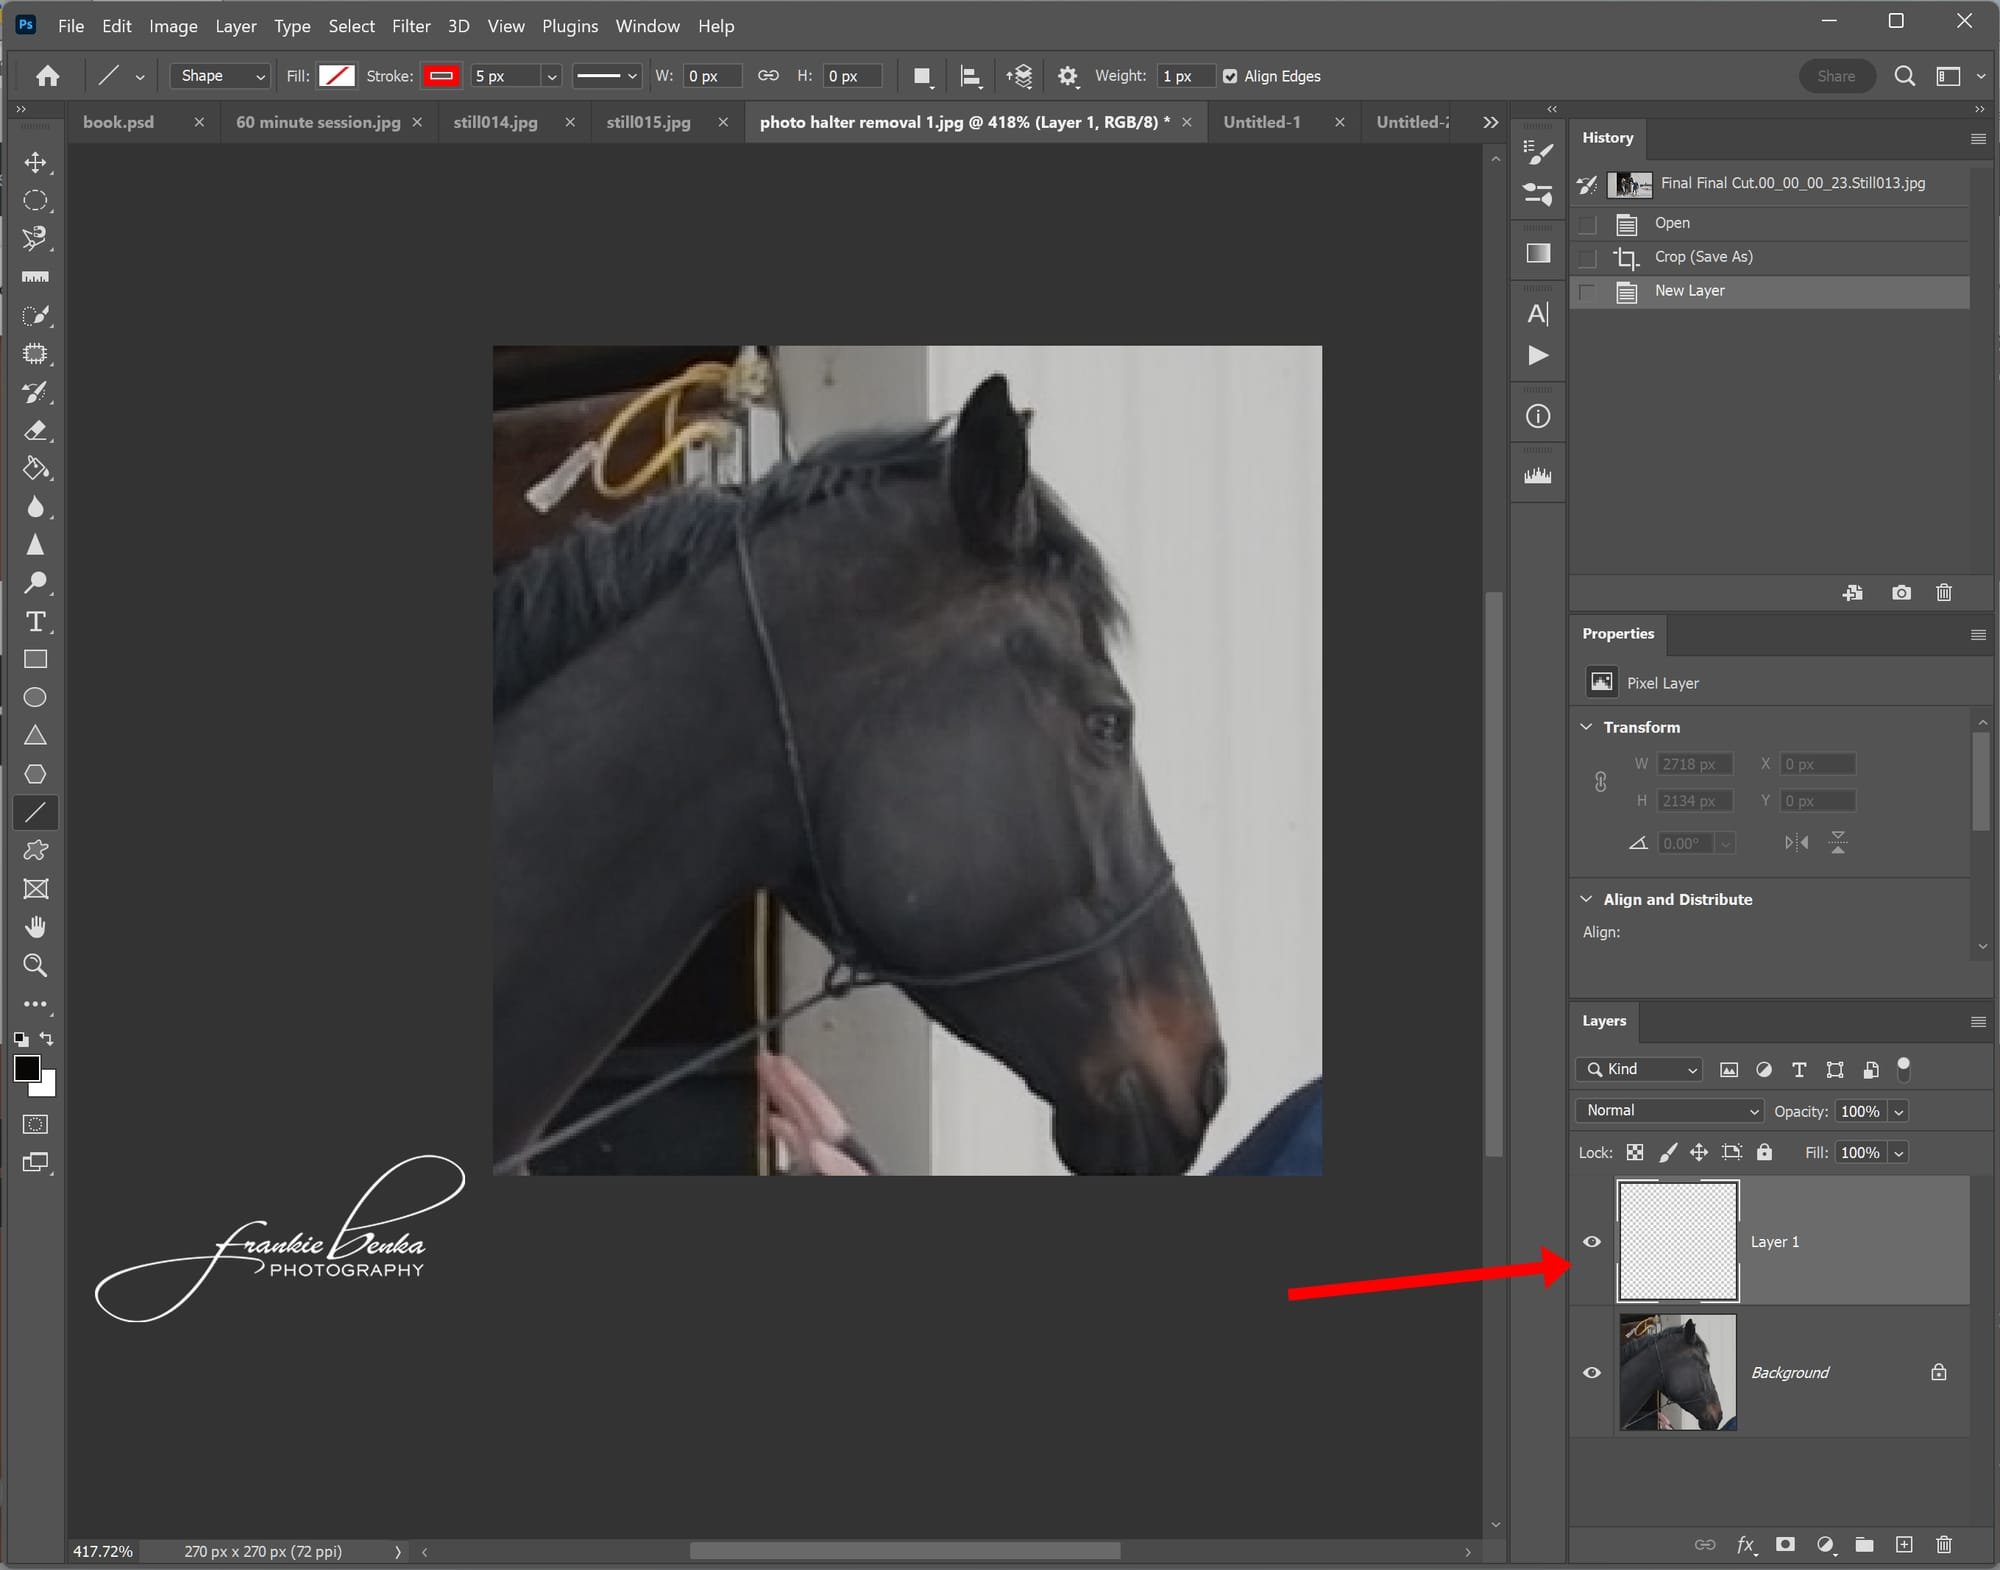
Add an empty layer by clicking on the new layer icon at the bottom of the layers tray.

Step 3
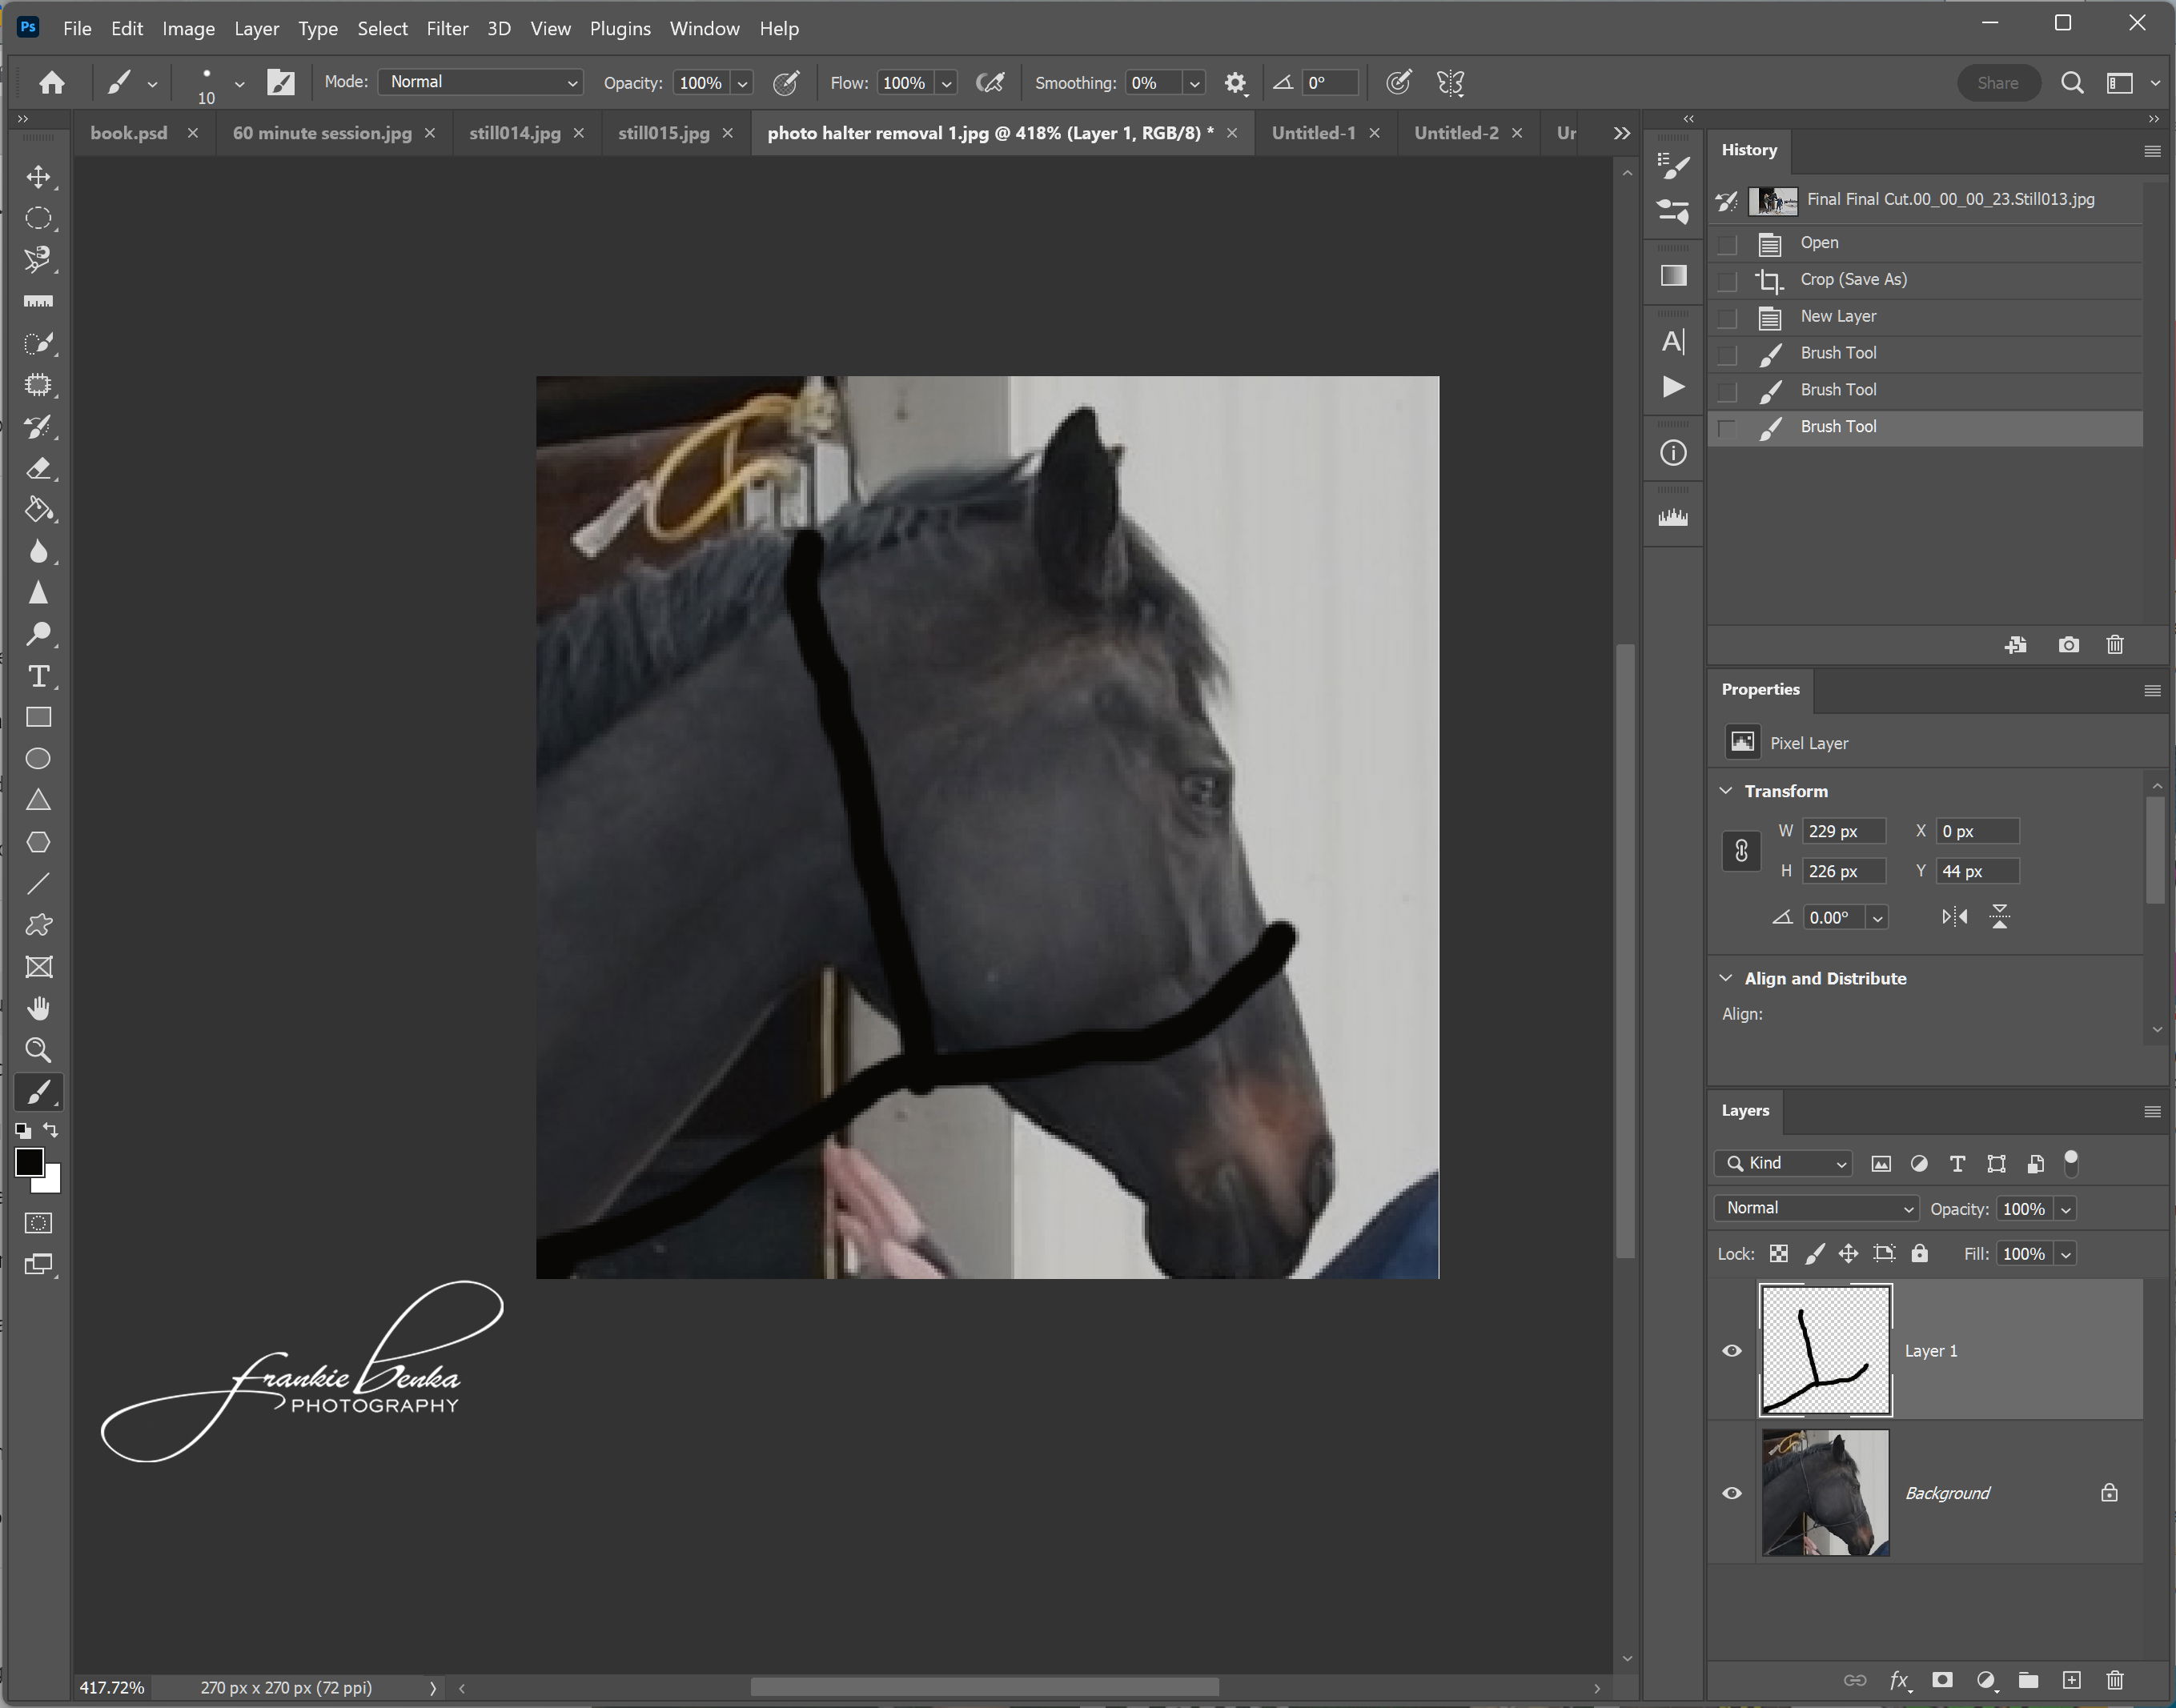
Change to the Brush tool (B).
Make the foreground color Black.
Make your brush 100% hardness.
Size your brush so it is just slightly bigger than the halter line.
On the new layer, paint over the halter with the black brush
Step 4
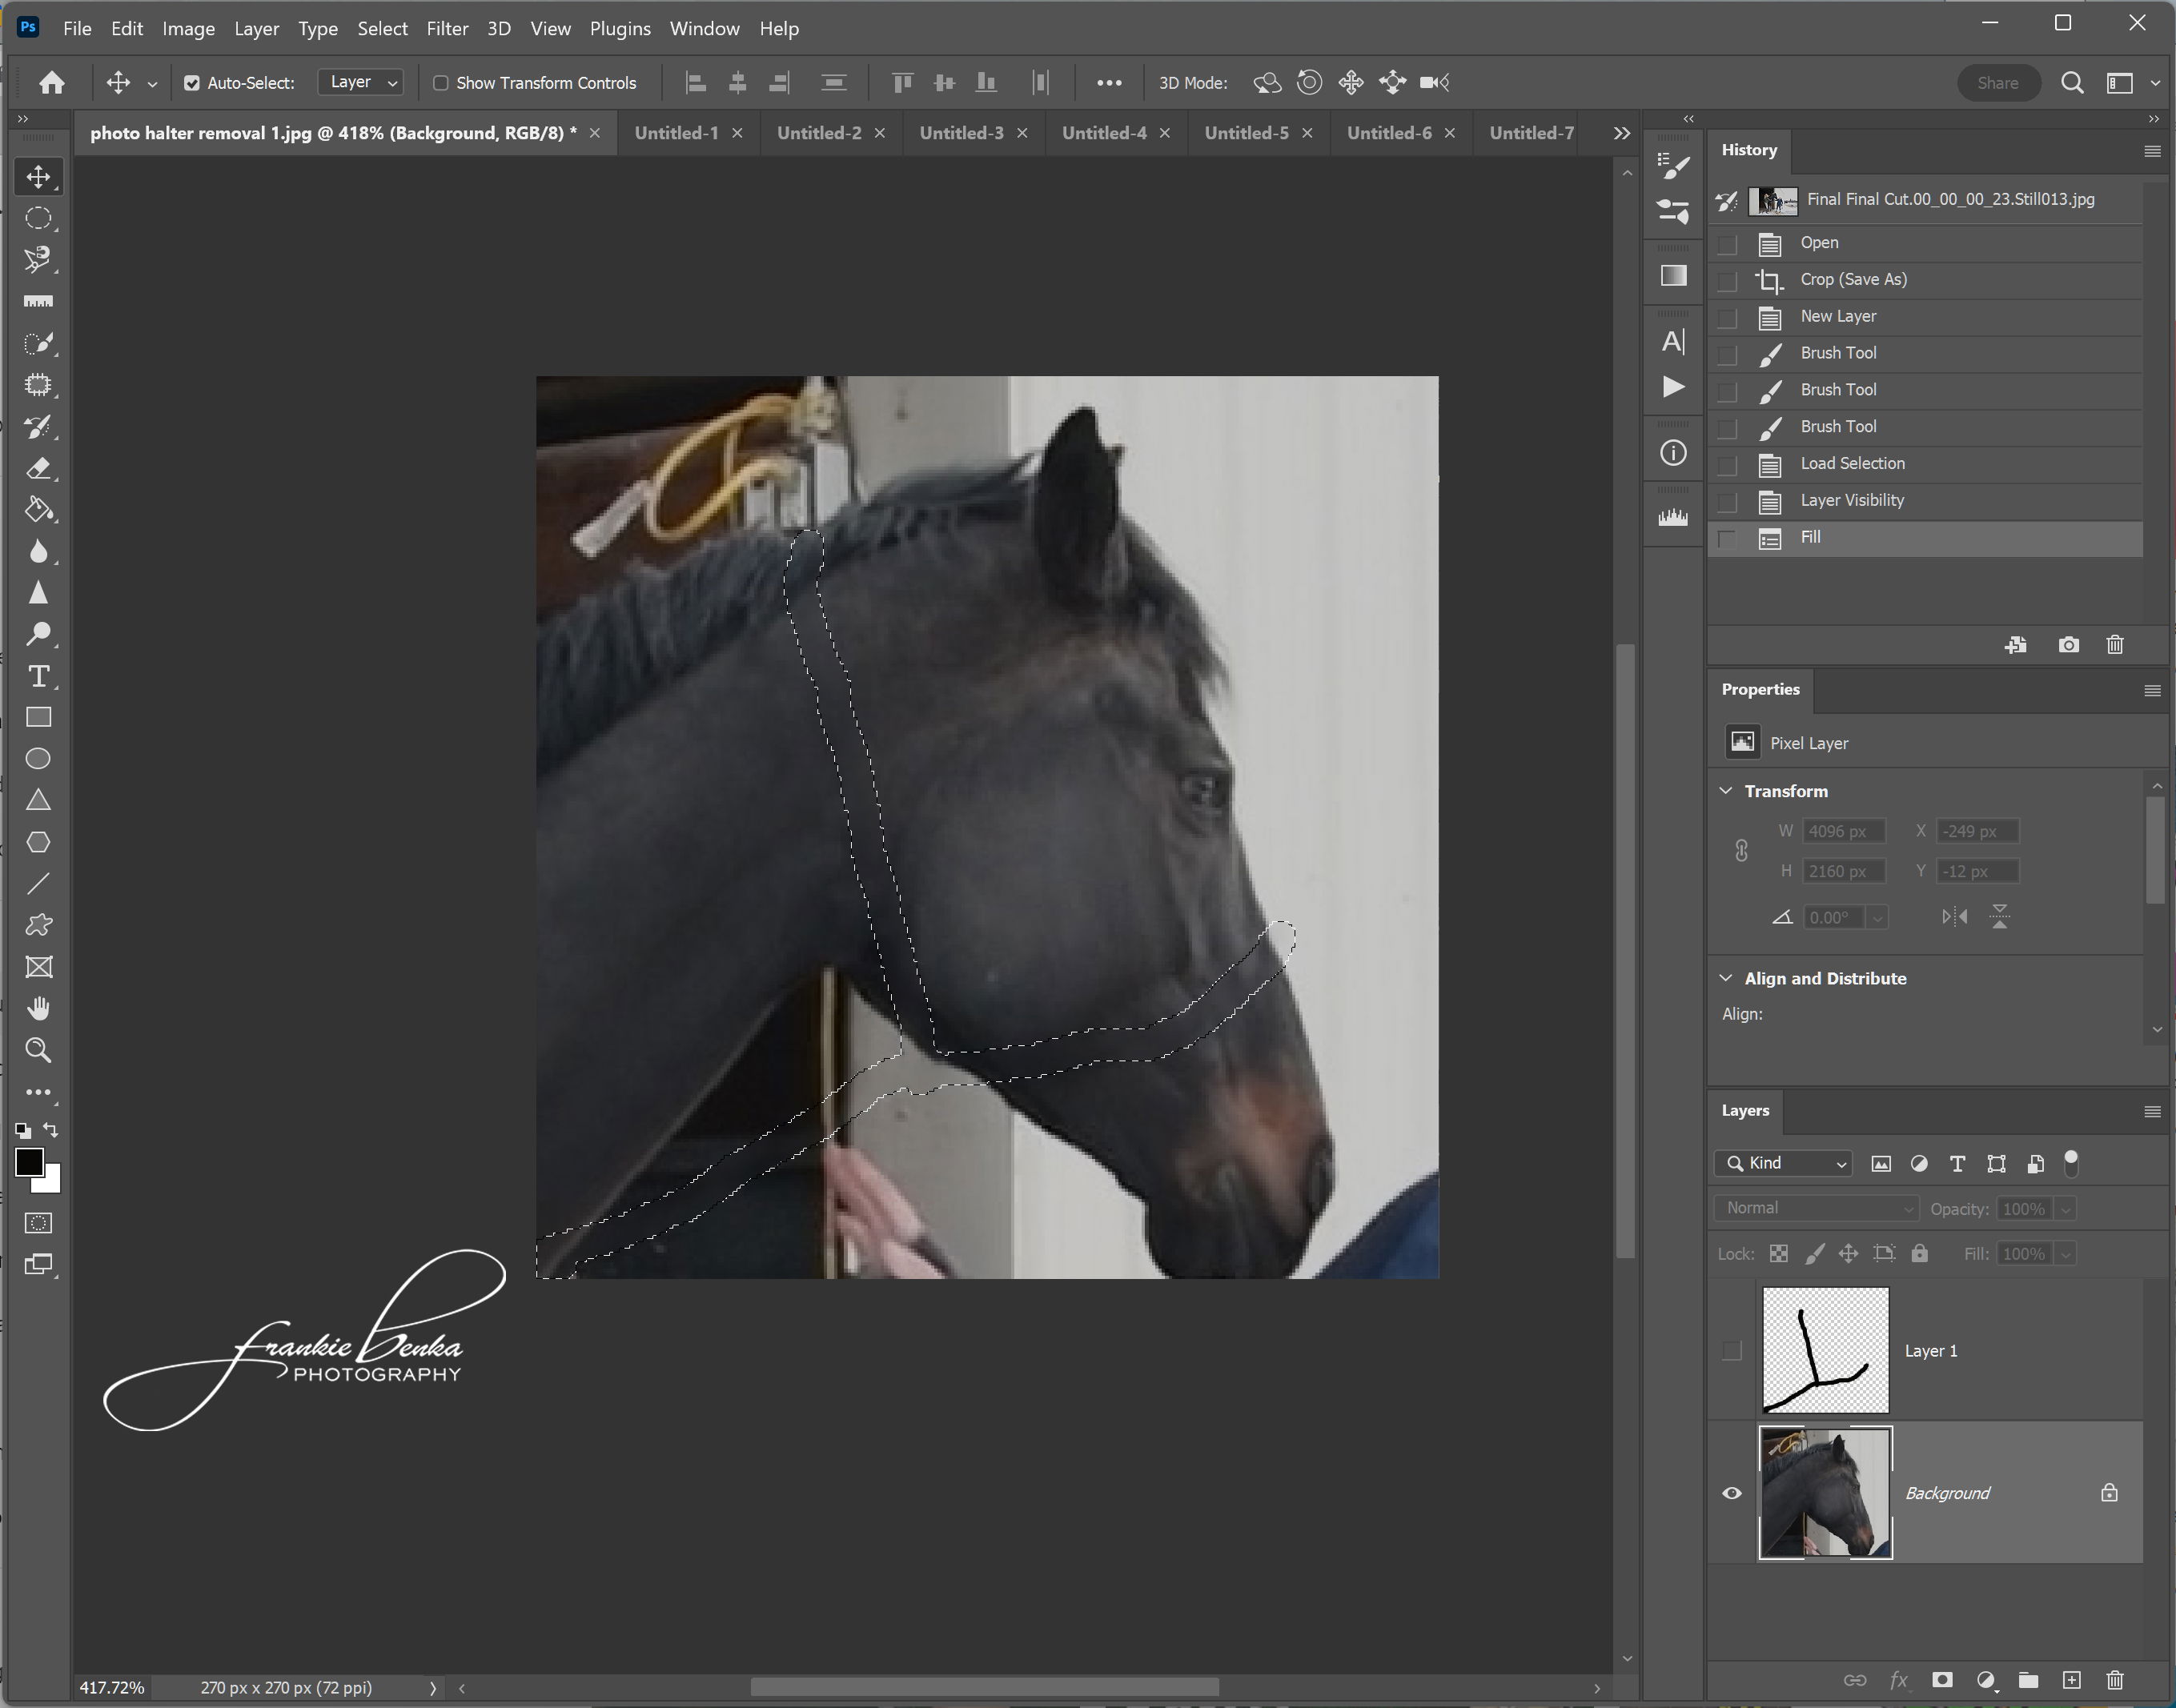
Click on Select then Load Selection.
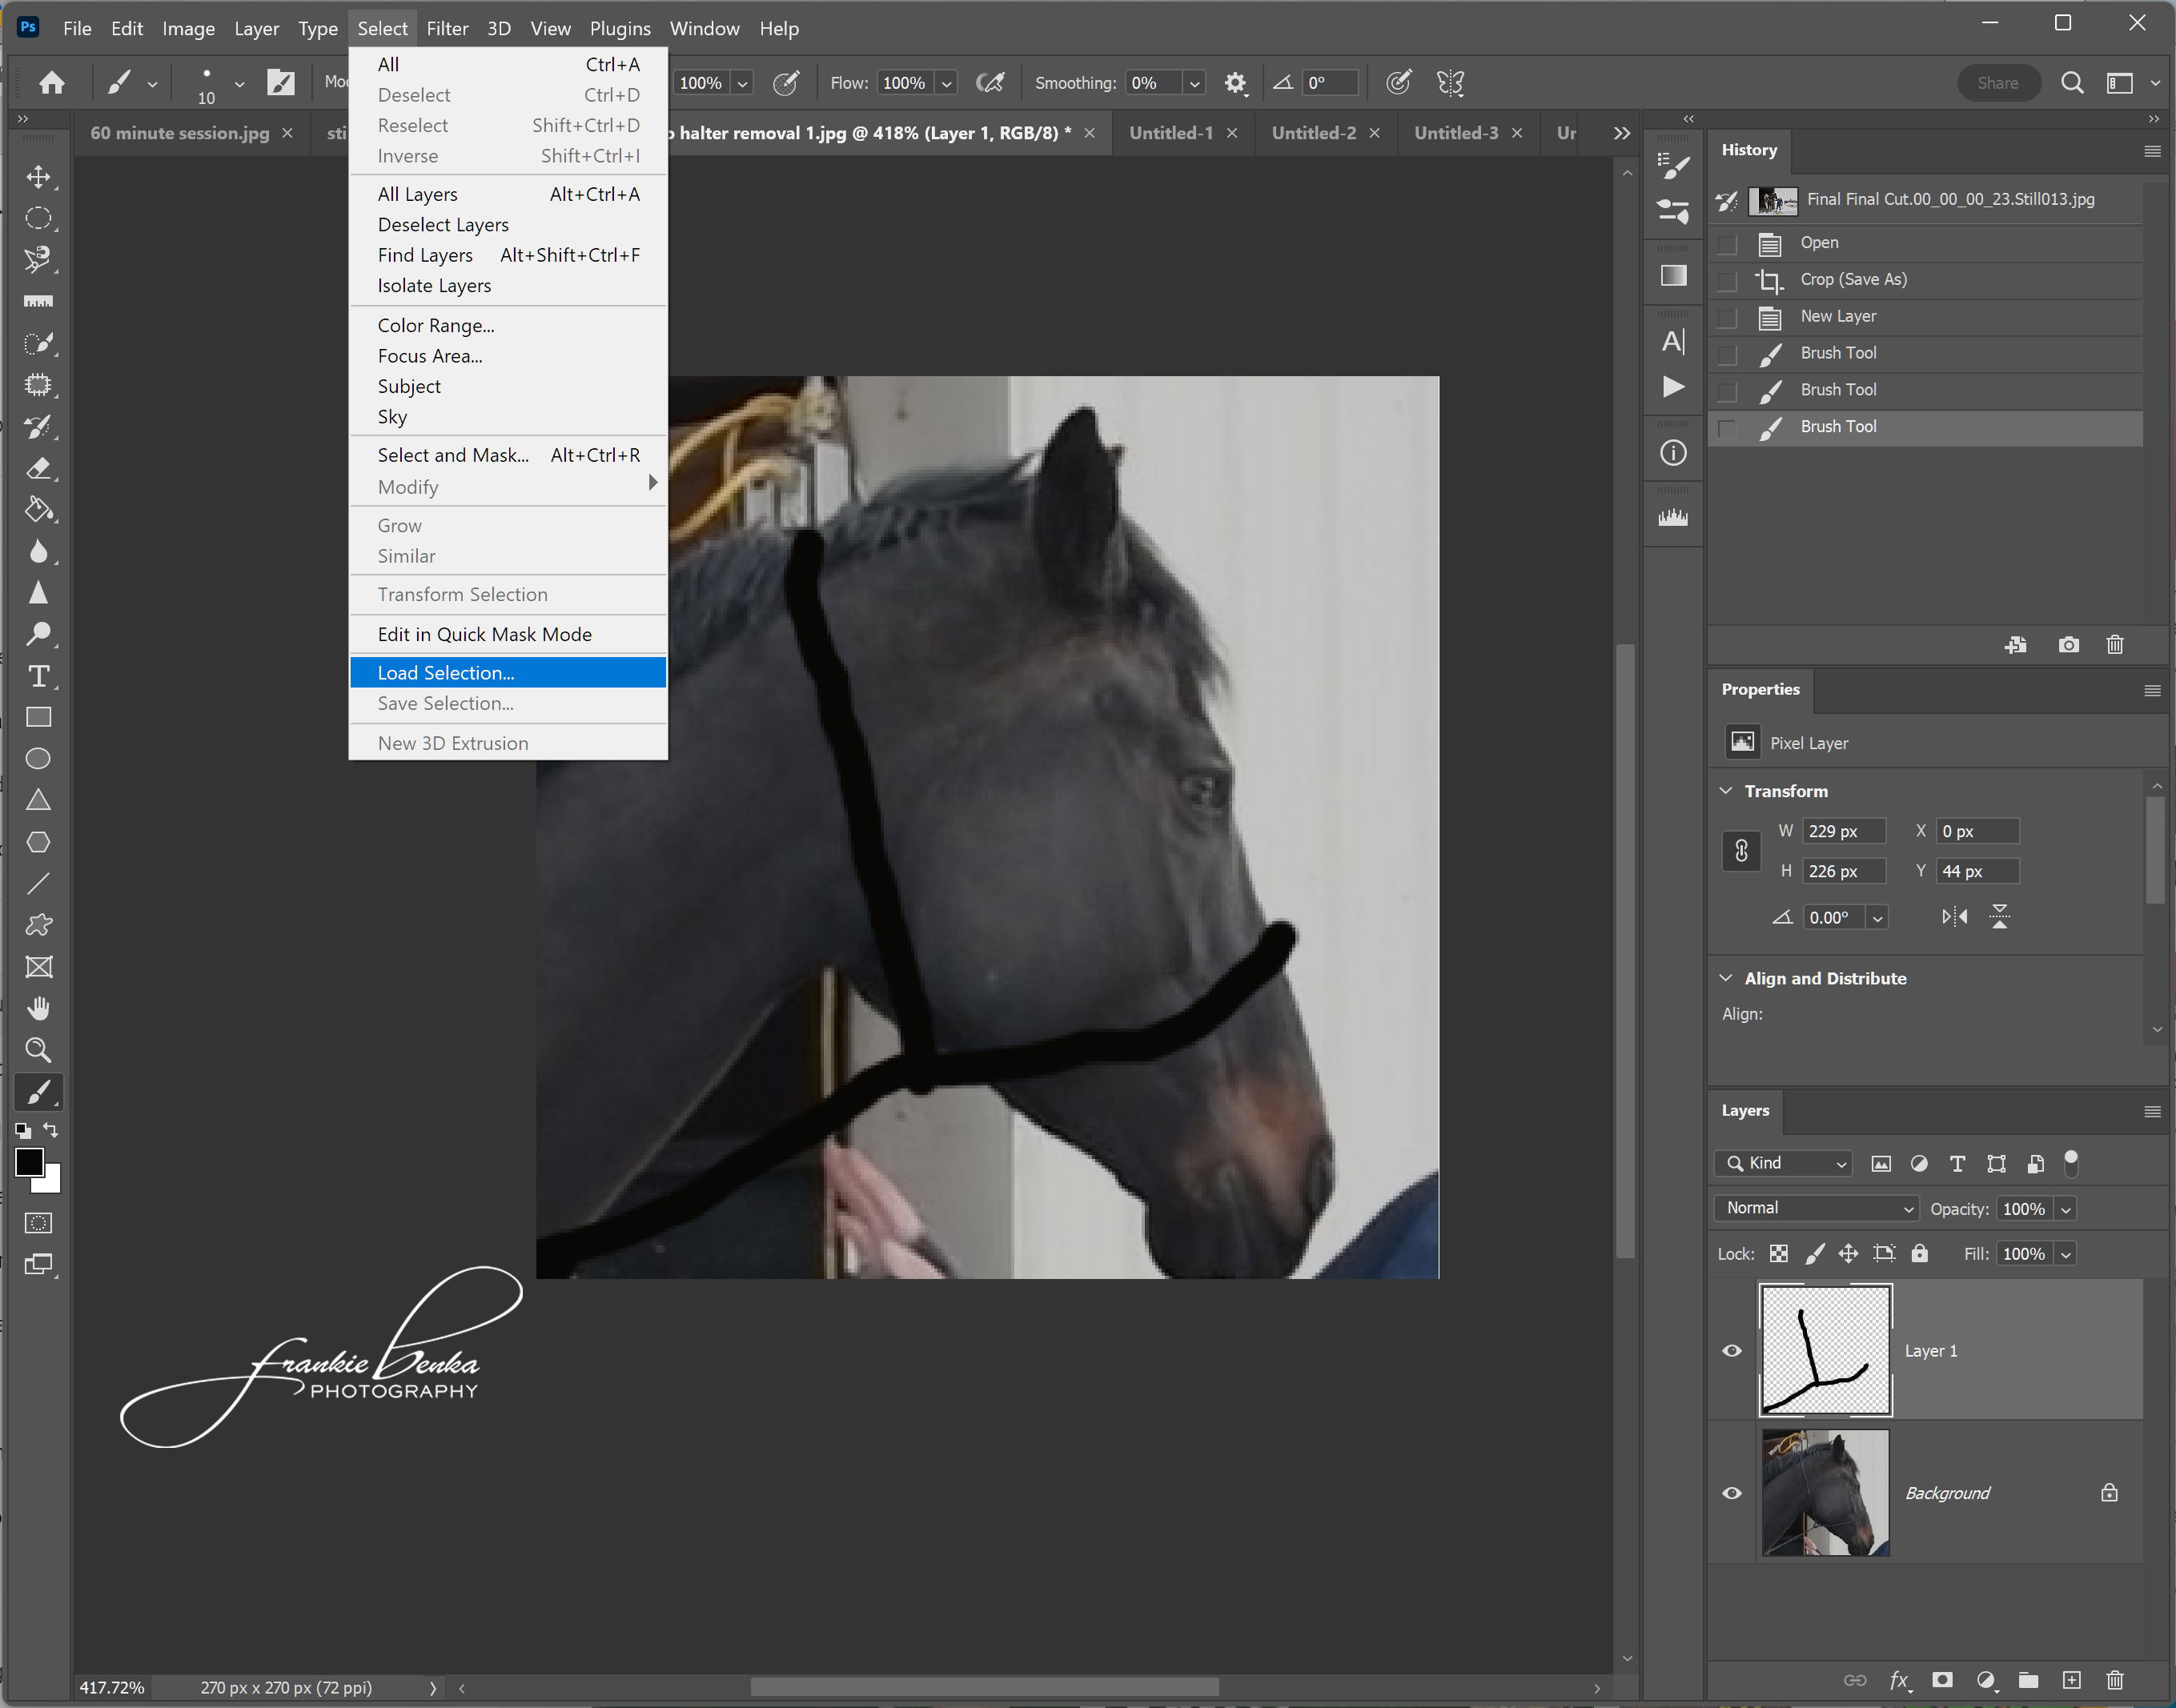
You will see marching ants around the lines you painted.

Step 5
Uncheck the eye on the blank layer you painted on to turn off visibility of that layer.
Marching ants will remain on screen.

Step 6
Select the background layer by clicking on it.
On the keyboard, hold down the shift key and press the f5 key.
This will bring up the Fill dialog.
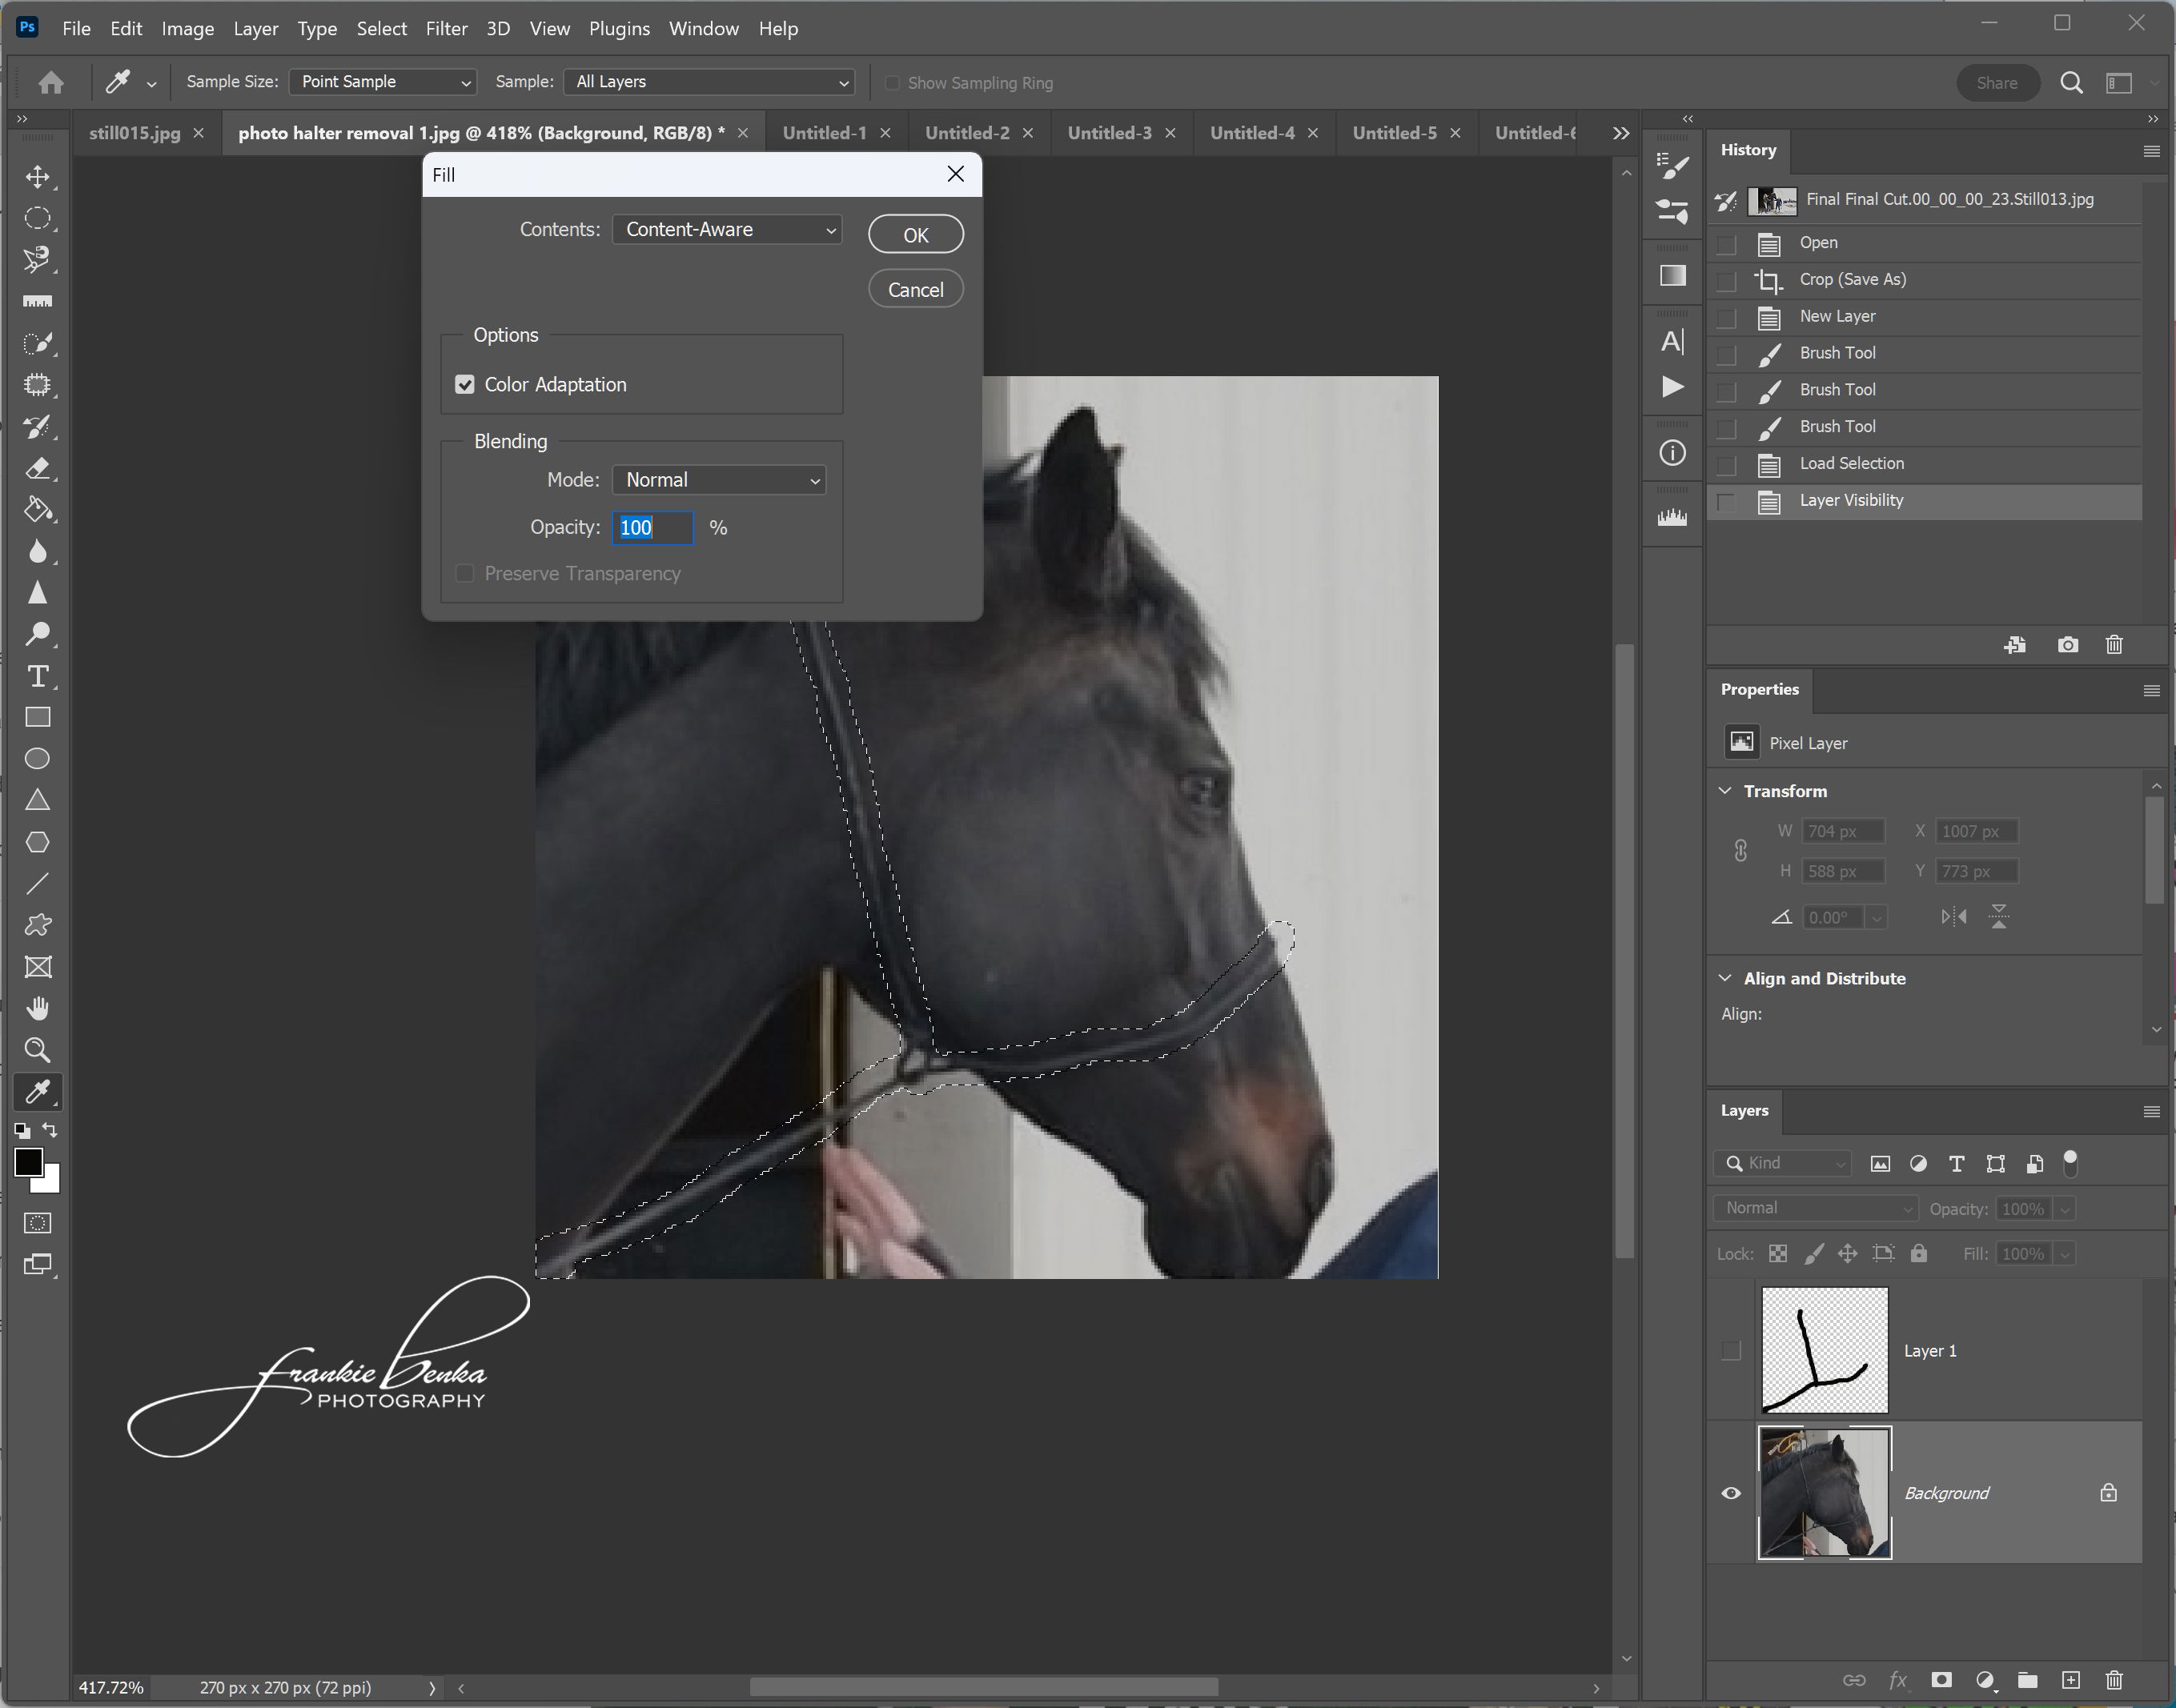
Contents should say: Content Aware, or if it doesn’t, select the down arrow next to Contents and select Content Aware from the drop down list.
Make sure the Color Adaptation box is checked.
Blend mode should be Normal.
Opacity is 100%.
Then click OK,
And Voila, halter is gone.
Step 7
Click Control D (on Windows) or Command D (on Mac) and the marching ants disappear.
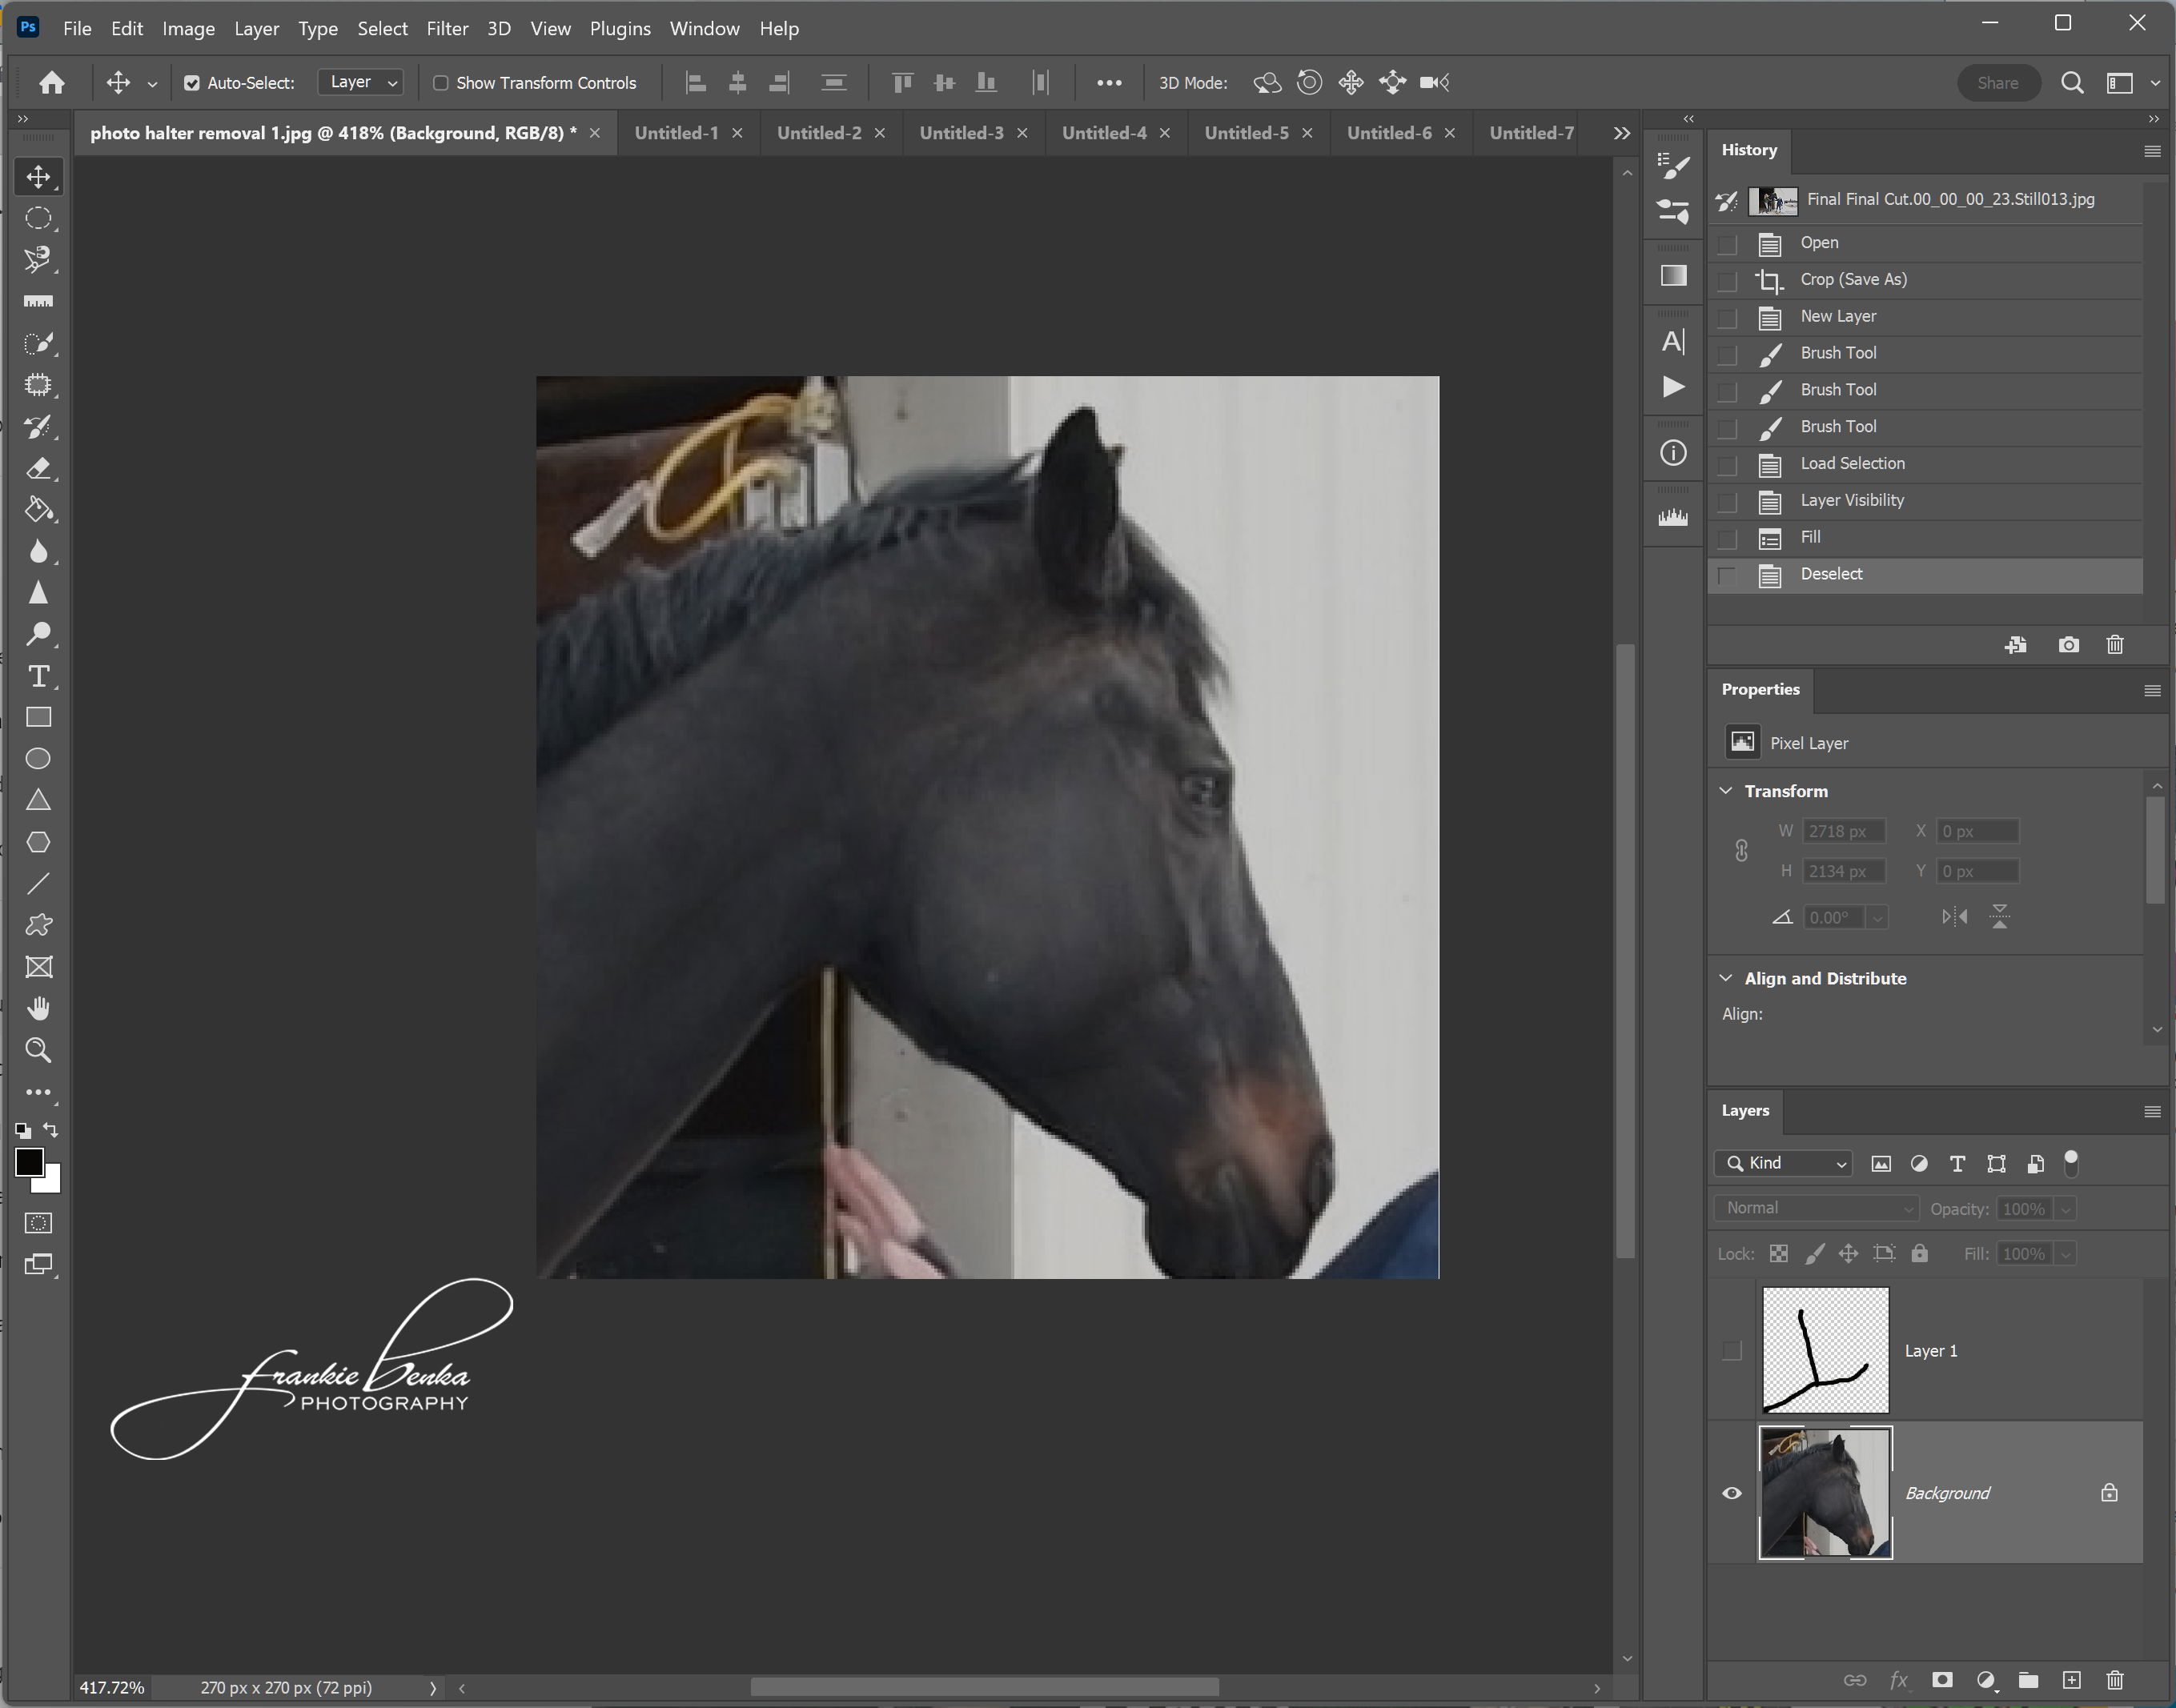
You can now delete the empty layer you painted on if you wish, it is no longer needed.
If you need to clean up any blurry pixels, just clone them from an adjacent area.
Hope this helps.